In a world where distractions are just a notification away, finding focus can sometimes be a tall order. Whether it’s for work, study, or just some quiet reading time, the presence of background noise such as White Noise or the soothing sounds of ocean waves can be the concentration aid many individuals need. This is not just anecdotal; a study published on the British Psychological Society’s Research Digest reports that white noise can boost attention and creativity, albeit the improvements are modest. Here’s the link to the study for those interested in the details. Now, if you’re a Mac or …
Read OnSchlagwort: MacOS
Back-Up Basics: Your Guide to Secure Digital Memories on macOS
A couple of days ago, I received a mail with a question that touches the core of our digital lives: How to backup photos? Shockingly, quite a lot of people do not back up or secure their photos, let alone the remainder of their digital work. Thankfully, that leads to no issues in 95% of the cases. However, for the remaining 5% of cases where it does lead to trouble, the outcry is intense. And understandably, so. Therefore, everyone should implement a backup strategy to secure the things most important to us: Memories and one’s own work. Why should I …
Read On➡️ Linked Post: Extensive Comparison of Markdown Apps
Looking for a great source to get an overview of Markdown editors? Hermann Rotermund’s recent article “Workflow mit Markdown” over on weisses-rauschen.info provides you with an extensive overview. Whether you’re new to Markdown or just not sure which editor to use, this article is highly recommended. It provides an in-depth overview of several Markdown editors, making it easier to choose the right one for your needs. The article covers various Markdown editors, including Typora, Bear, Ulysses, and iA Writer, highlighting their key features and pros and cons. It also touches on some essential Markdown syntax and provides tips on how …
Read OnState of the Apps 2023
Cortex by Myke Hurley and CGP Grey is one of my favorite podcasts and I eagerly look forward to each episode. Every year, in the penultimate episode of the year, they talk about the most important apps and services they currently use. And then, the always worth reading Mere Civilian also recently wrote an article under that theme. Last year, I actually wanted to do the same, but then didn’t for reasons I don’t remember. This year, however, the time has come. Which apps do I use every day? What has changed in the last year? And where do I …
Read OnHow to use Focus Modes on Apple’s devices
So, I’ve written about how Focus modes really could be a first step towards user profiles on the iPad a couple of weeks ago. In this article, however, I barely talked about how to set them up. That’s why I’d like to give a short how-to and also show my own focus modes to get you an idea of what is possible. — How to set up focus modes on iPhone, iPad, and Mac (This guide has been developed for macOS. The process on iPad and iPhone, however, is just about the same, so the guide should be easily applicable …
Read On
Apple’s WWDC 2022: What does it bring for students and researchers?
Apple’s World Wide Developers Conference keynote is always one of the most interesting dates in my tech year. I love to see what awaits us in the next iteration of iOS, iPadOS, or macOS, respectively. This Monday, it was that time again.
Read OnMy newfound love for DevonThink
I had turned my back on DevonThink for a long time: too complicated, constant problems with iCloud, and often just overkill. Recently, however, the app has become a permanent part of my setup again. What has changed? Some time ago, I had a series on Devonthink here on the blog, in which I introduced and also evaluated the program. At that time, I used it as my digital archive, where I really stored everything: from scientific papers to electricity bills. Over time, the frustrations have accumulated, especially because I had problems with the iCloud sync again and again. Whether this …
Read OnMeine neu entdeckte Liebe für DevonThink
Ich hatte DevonThink lange den Rücken gekehrt: zu kompliziert, ständig Probleme mit iCloud und oft einfach zu viel des Guten. Seit kurzem ist die App aber wieder fester Bestandteil meines Set-ups. Was hat sich geändert? Vor einiger Zeit hatte ich hier auf dem Blog eine Reihe zu Devonthink, in der ich das Programm vorgestellt und auch bewertet habe. Ich habe es damals als mein digitales Archiv genutzt, in welchem ich eigentlich alles abgelegt habe: vom wissenschaftlichen Paper bis zur Stromrechnung. Über die Zeit haben sich dann die Frustrationen gehäuft, v.a. weil ich immer wieder Probleme mit dem iCloud-Sync hatte. Ob …
Read On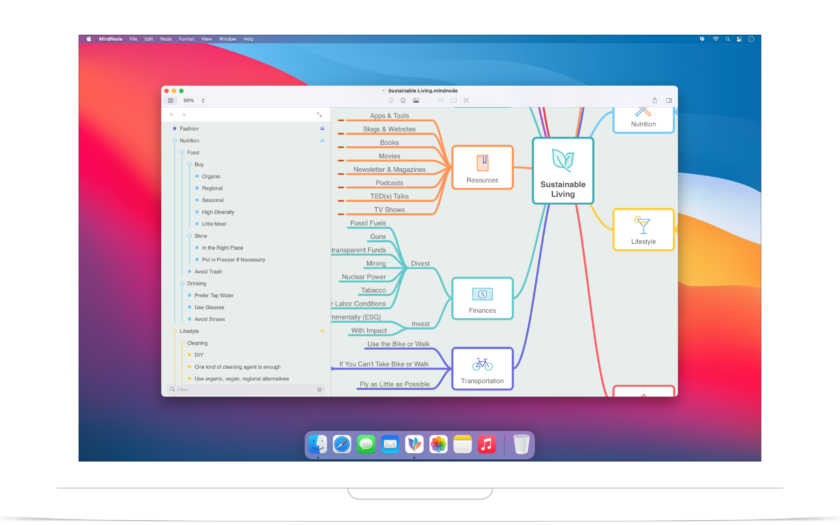
Planen, denken, strukturieren – MindNode im Portrait
Ich möchte mich an dieser Stelle ganz herzlich bei IdeasOnCanvas bedanken, die mich in dieser Woche unterstützen. IdeasOnCanvas sind die Macher:innen hinter der bekannten Mindmap-Software MindNode. [Werbung]
Read On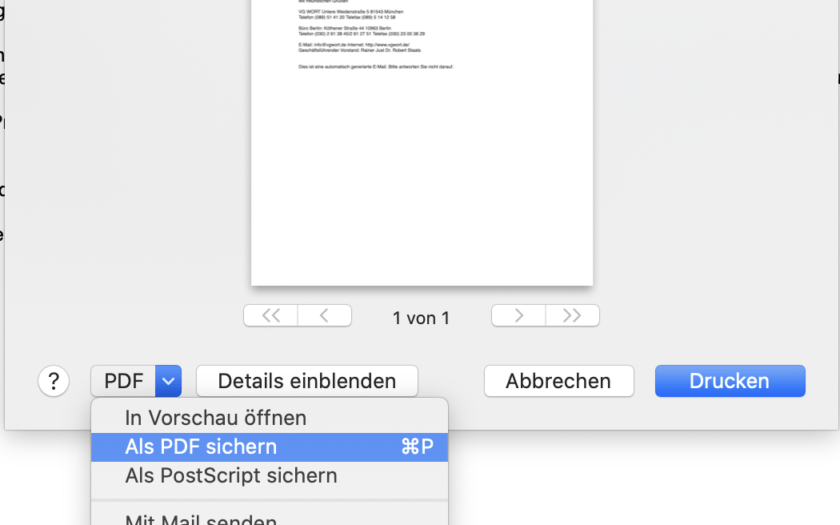
Alles als PDF drucken – mit nur 2 Klicks
Alles auf dem Mac mit nur zwei Klicks als PDF drucken. So geht’s
Read On