I began this blog as a resource for digital productivity in the knowledge sector, particularly for students and researchers. My inspiration for starting it came from my own experiences as a graduate student, as well as my admiration for individuals like David Sparks and the broader productivity blogosphere. Initially, I intended to write for a broad audience, regardless of the operating system they use. However, over time, my focus has shifted. There have been three main developments that have led to this change: As a result of these developments: I hope that you will continue to follow my journey and …
Read OnState of the Apps 2023
Cortex by Myke Hurley and CGP Grey is one of my favorite podcasts and I eagerly look forward to each episode. Every year, in the penultimate episode of the year, they talk about the most important apps and services they currently use. And then, the always worth reading Mere Civilian also recently wrote an article under that theme. Last year, I actually wanted to do the same, but then didn’t for reasons I don’t remember. This year, however, the time has come. Which apps do I use every day? What has changed in the last year? And where do I …
Read OnHow to use Focus Modes on Apple’s devices
So, I’ve written about how Focus modes really could be a first step towards user profiles on the iPad a couple of weeks ago. In this article, however, I barely talked about how to set them up. That’s why I’d like to give a short how-to and also show my own focus modes to get you an idea of what is possible. — How to set up focus modes on iPhone, iPad, and Mac (This guide has been developed for macOS. The process on iPad and iPhone, however, is just about the same, so the guide should be easily applicable …
Read On
Apple’s iPad lineup is a mess – Where is the journey heading?
Last Tuesday Apple updated its iPad lineup. In addition to the entry-level iPad, which is now in its 10th generation, the two iPad Pros were also updated. But anyone who now thinks that this presents the iPad product category in a good light is mistaken. On the contrary: Apple makes strange decisions that confuse users and simply do not make sense. Furthermore, models are neglected, which raises many questions. Little love for the pros Let’s start with the update for the iPad Pros, which are still available in the 11″ and 12.9″ sizes. Here, the few rumors that existed in …
Read OnBuy DevonThink this week and get 3 instead of 2 seats!
I just received the newsletter from DEVONtechnologies, the makers of macOS power user file management app DevonThink. In this newsletter, they announce that there will be a special promo campaign from October 27 9 am UTC to October 28, 2022 6 pm UCT. In this short period, you’ll get 3 seats per purchase instead of the usual 2. This means that you can use DevonThink on 3, rather than 2 Macs. So, probably not too interesting for most potential buyers, but IF you need DevonThink on 3 Macs, this is the time. You can buy DevonThink directly from there website.
Read OnAre Focus Modes actually iPad Profiles?
Again and again, I hear the demand that iPads should have user profiles, as we know them from the Mac. As you know, you can create user accounts there so that several people can use one and the same Mac. This is not possible on the iPad. And it might be even more useful here, since an iPad is usually not a device that is in constant use. It would be obvious, for example, that a family shares an iPad. At the moment, only schools have the option to create multiple users per iPad. And no, Apple has not introduced …
Read On
Philosophical reflections on paperless work
The new semester starts soon in Germany and also in the USA it is time to get back to school. I would like to take this opportunity to explain what paperless studying or working means to me. What are my concerns, what advantages do I see, and what objections do I have? You could also see this article as my core beliefs in this area. Let’s dive in! The default for me is digital. This means that 99% of my work is now done digitally, with the only major exception currently being mail that reaches me in analog form. That …
Read On
Notebooks 12 released
So… it’s been a while. In the past, I usually aimed for about two to three articles per month. Lately, I was not able to maintain this schedule due to several reasons. Most importantly, I try to focus on my PhD. Then, there was a (much needed) vacation and just a lot going on. And I am not sure that the slower cadence will change any time soon. Sorry! But enough of the excuses, back to the content: Notebooks 12 (or Notebooks 3 on the Mac) has been released. Notebooks is an app that is comparable to DevonThink or KeepIt. …
Read On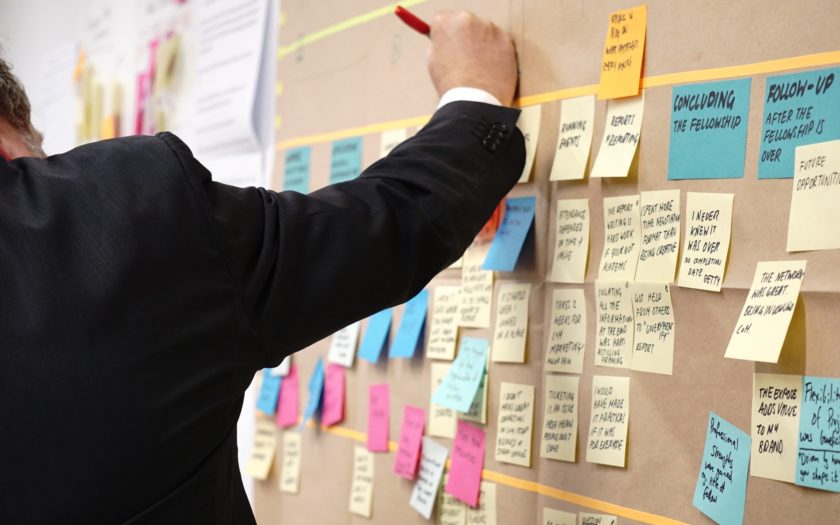
How I use visualization to make sense of my notes in Obsidian
Obsidian is an incredibly powerful tool. However, it can be difficult at times, to get a sense of all the information in your vault. This is where visualization comes into play. In this two-part series, I’d like to talk about two plugins that help me greatly in working with my data visually: the Kanban plugin by MG Meyers, and Excalibrain by Zsolt Viczián.
Read On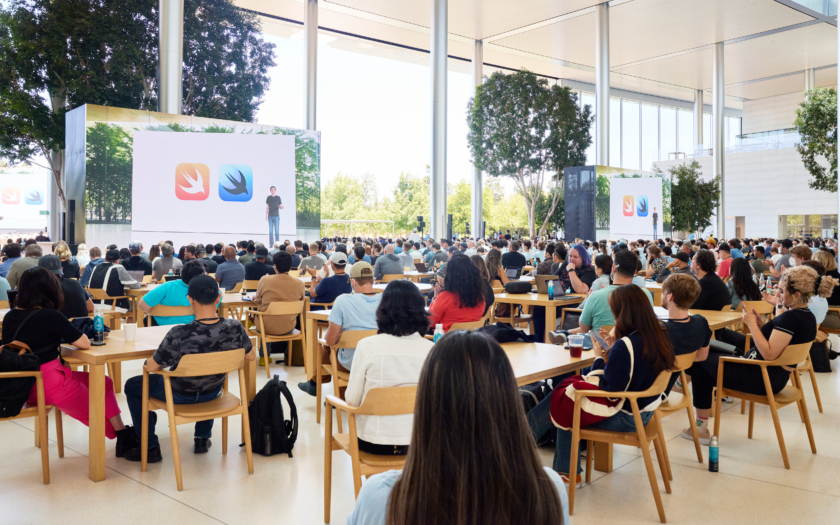
Apple’s WWDC 2022: What does it bring for students and researchers?
Apple’s World Wide Developers Conference keynote is always one of the most interesting dates in my tech year. I love to see what awaits us in the next iteration of iOS, iPadOS, or macOS, respectively. This Monday, it was that time again.
Read On