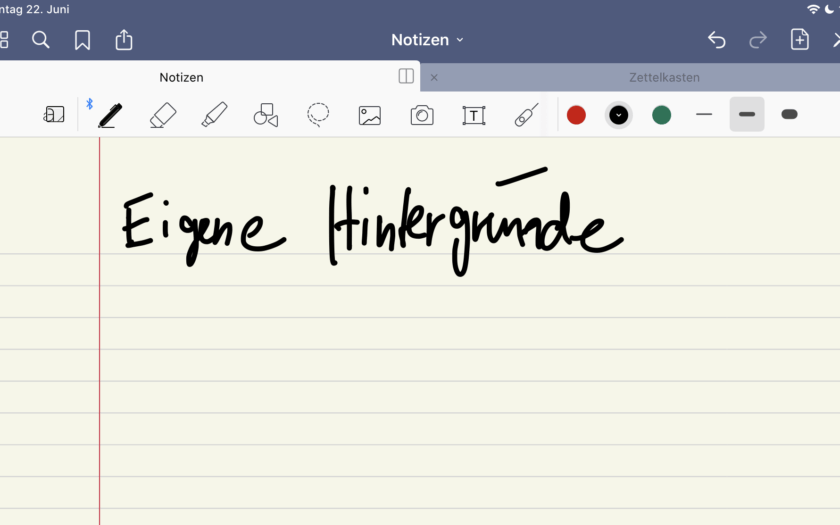
GoodNotes is the app par excellence for me when I want to take handwritten notes. There are many reasons for this. The thoughtful design of the app, for example, or the consistent ongoing development and maintenance of the app. I have already written a lot about this in my review of the latest full version. One of the best features for me, however, is the ability to personalize my digital notebooks.
This personalization works in two ways: on the one hand you can change the cover, on the other hand you can change the type of paper you write on. Changing the cover is primarily cosmetic, of course, but it can also be useful. If you have many notebooks, you can find what you are looking for at a glance.

The practical added value of the actual pages is indisputable. Grades are difficult to write down on check paper, and a corresponding template is also invaluable for a lab report.
GoodNotes comes with a lot of features right out of the box. All you have to do is create a new notebook. There you can change both: Cover and paper. You can choose between nine categories for the cover: Simple, Colored, Black/White, Cover, Light, Celebration, Brown, Plain, and Pattern, each with several variations. All in all, that’s a remarkable 56 options (if I haven’t lost count).
For paper, there are four categories: Conventional, Writing Paper, Planning, and Music. Conventional has paper types like dotted or squared, writing paper has Cornell notes or a classic writing pad. Planning, on the other hand, has templates for monthly or weekly planners, as well as to-do lists, and under Music you will of course find various types of music paper. In addition, the color (white/yellow/dark) and the format (standard, A7-A3, letter and tabloid format) can also be customized for the paper types.

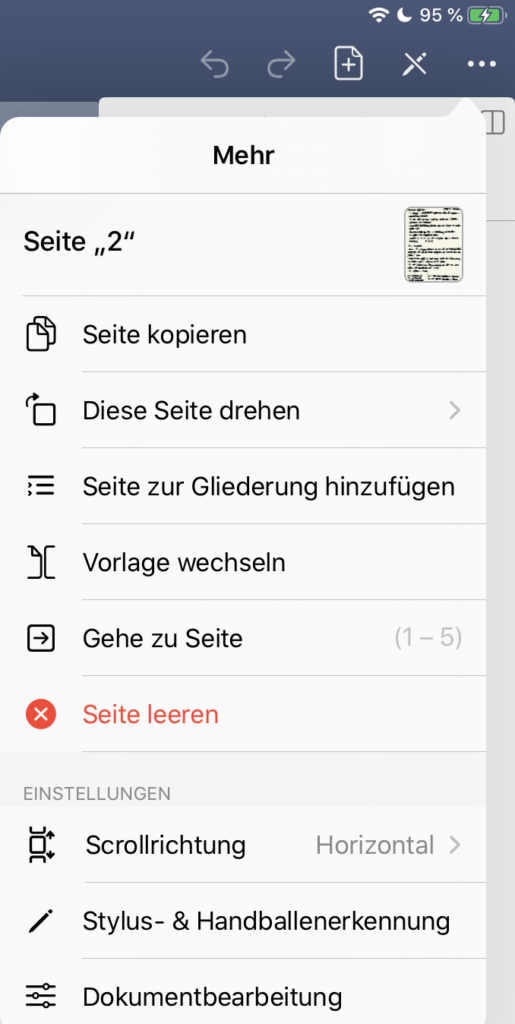
That’s quite a lot of options that can be used to cover a lot of possibilities. And if you change your mind in the meantime, that’s no problem either. All you have to do is click on the three dots in the upper right corner and select Change template. Now you can change the paper and cover of existing notebooks.
Your own template in just a few steps
But what if that’s not enough? Possibly because you want to write on just that one type of paper that GoodNotes doesn’t have? Or the lab report requires a certain template? Or you are a sales representative of a company and have to write in a certain template? This is not a problem either. GoodNotes has a feature that allows you to add your own templates.
To do this, first go back to the overview page and then click on the small cogwheel at the top right. There you will find the item Notebook Templates. In the header there is a plus symbol that allows you to create a new subgroup, for example My Templates. Once this group is created, you can import new templates, either from the Photos or the Files app.
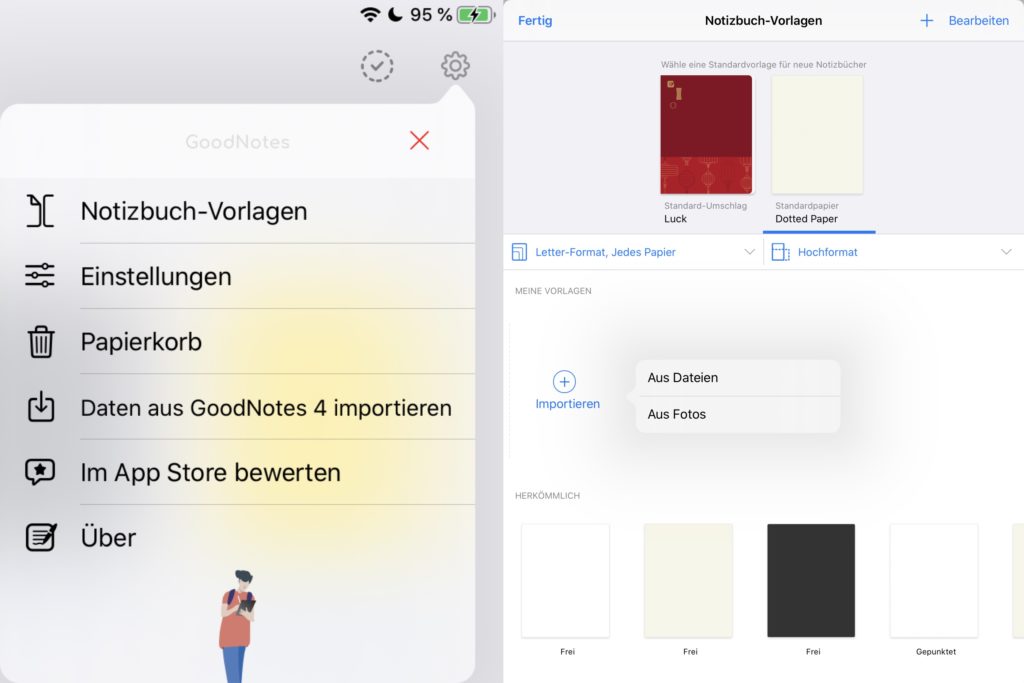
Notizbuch-Vorlagen = Notebook Templates
So one possible workflow would be to scan a real piece of paper with a scanning app like Prizmo or Scanner Pro from Readdle. This is a better option than just taking a photo, as it ensures you have a high-resolution and optimized template. After that, you can import the template into GoodNotes and write on it from now on. With covers, of course, you can do the same and get the cover that you find particularly nice.
Really a great functionality, and by the way also a great way to redesign GoodNotes according to your own wishes.
Ein Kommentar